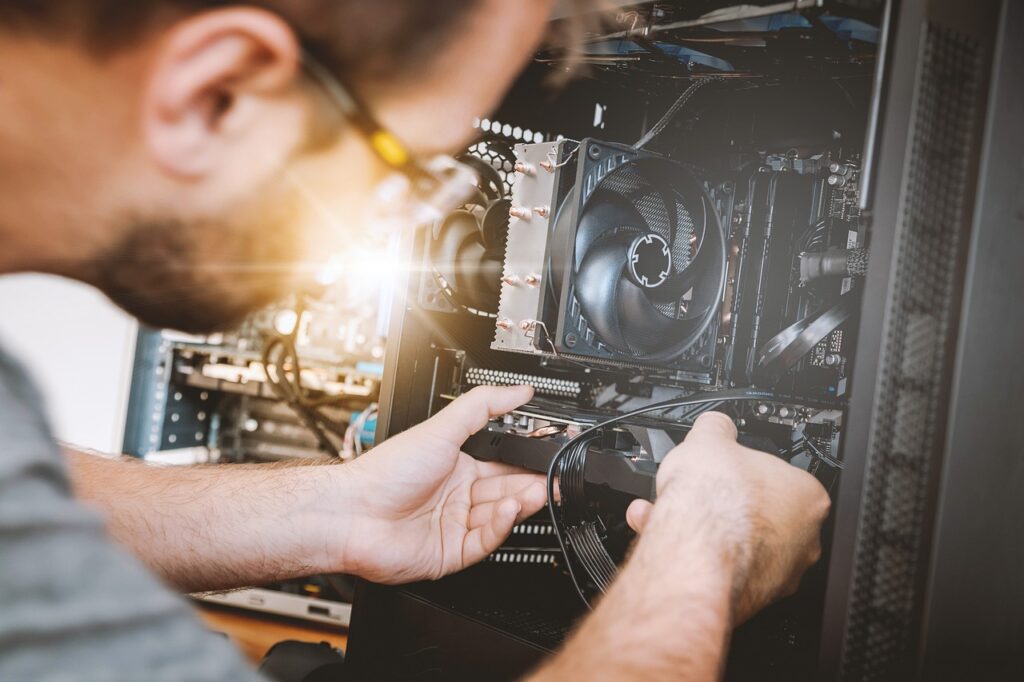
Is your computer refusing to turn on? Don’t panic! Our comprehensive troubleshooting guide on “How to Fix a Computer That Won’t Power On” is here to help you resolve this frustrating issue. Whether you’re dealing with a sudden power outage or faulty hardware, our step-by-step process will guide you through fixing a computer that won’t power on. From basic checks to advanced solutions, we’ll help you get your computer back to work.
Basic Troubleshooting Steps on How to Fix a Computer That Won’t Power On
When your computer won’t power on, start with these essential checks. Follow our guide on “How to Fix a Computer That Won’t Power On” to ensure that you cover all basic troubleshooting steps:
– Ensure Power Supply: Confirm that your power cord is securely plugged into both the wall outlet and the back of your computer. If using a power strip or surge protector, ensure it’s turned on. To rule out issues with these devices, try plugging directly into a wall outlet.
– Inspect the Power Button: Press and hold the power button for a few seconds. If it feels stuck or unresponsive, it may need replacement. Rapidly tapping the button might also help determine if there’s a response from the machine.
Checking Power Connections and Outlets
Checking Power Connections and Outlets
If basic troubleshooting doesn’t resolve the issue, delve deeper:
– Verify Power Cable Connection: Ensure the power cable is securely connected to your computer. Wiggle the cable to check for loose connections and push it back in firmly if necessary.
– Test Wall Outlet: Check if the wall outlet is functioning by plugging in another device like a lamp. If the outlet is faulty, try another one or use a power strip.
– Assess the Power Supply Unit (PSU): The PSU converts AC power from the outlet to DC power required by your computer. A malfunctioning PSU can prevent your computer from turning on.
Resetting the Power Supply
To reset the power supply, follow these steps in our guide on “How to Fix a Computer That Won’t Power On”:
1. Basic Reset: Unplug your computer and disconnect the power cable. Wait a few minutes, reconnect the cable, and try powering on the computer.
2. Thorough Reset: If the basic reset fails, unplug the computer, open the case, locate the PSU switch, flip it to the “off” position, wait 30 seconds, flip it back to “on,” then reconnect and power on.
3. Replacing the PSU: If the reset doesn’t work, consider replacing the PSU. Ensure compatibility with your computer’s make and model.
Testing the Power Button
If the PSU is fine, the power button might be the issue:
1. Access Internal Components: Remove the side panel or case of your computer to access internal components.
2. Test Power Button Connection: Disconnect the power button connector from the motherboard. Use a screwdriver or jumper to create a temporary connection between the power button pins to simulate pressing the button.
3. Replace Power Button: If the computer turns on with the temporary connection, replace the power button.
Troubleshooting the Motherboard and RAM
If power button and PSU checks are fine, the motherboard or RAM may be at fault:
1. Inspect Motherboard: Look for signs of damage such as burnt components, loose connections, or cracks.
2. Test RAM: Remove and reseat RAM modules. Test with one module at a time to isolate faulty RAM.
3. Consider Replacement or Professional Help: If issues persist, you might need to replace the motherboard or RAM or seek professional help.
Checking the Hard Drive and Data Cables
While a faulty hard drive is unlikely to prevent powering on, check it anyway:
1. Inspect Hard Drive and Cables: Look for damage to the hard drive and data cables. Ensure cables are securely connected.
2. Boot with Live USB or DVD: Try booting from a live USB or DVD to access the hard drive and retrieve important data if necessary.
3. Consider Hard Drive Replacement: If the hard drive is the issue, you may need to replace it.
Resolving Issues with the Graphics Card
A faulty graphics card can also prevent a computer from powering on:
1. Check Graphics Card Connections: Ensure the graphics card is securely inserted into the PCIe slot and that power cables are properly connected.
2. Test with Integrated Graphics: Remove the dedicated graphics card and try booting using integrated graphics to see if the issue lies with the card.
3. Update Drivers or Replace Card: If the computer powers on without the graphics card, update drivers, reset BIOS, or replace the card if necessary.
Dealing with Overheating Problems
Overheating can cause a computer to shut down to prevent damage:
1. Check Cooling System: Inspect fans, heatsinks, and vents for obstructions. Use compressed air to clean components.
2. Address Component Overheating: Check the CPU and graphics card cooling. Replace thermal paste or the cooling system if needed.
Conclusion: Seeking Professional Help on How to Fix a Computer That Won’t Power On
If all troubleshooting steps fail, seek professional assistance:
– When to Consult a technician: If you’re unable to identify the problem, a qualified technician can provide advanced diagnostics.
– Risks of DIY Repairs: Improper handling can cause further damage. Professional help ensures accurate diagnosis and repair.
– Decision-Making: Consider the cost of repair versus replacement.
Final Thoughts How to Fix a Computer That Won’t Power On
Don’t let a non-powering computer stress you out. With the right troubleshooting steps and professional assistance if needed, you can get your computer up and running again. Stay patient, persistent, and follow our guide on **“How to Fix a Computer That Won’t Power On”** to resolve the issue effectively.